


Setup ownCloud & share your Files.
To install the ownCloud client in a Windows 10 computer go to this URL http://owncloud.org/sync-clients/ That will bring you to the download page.
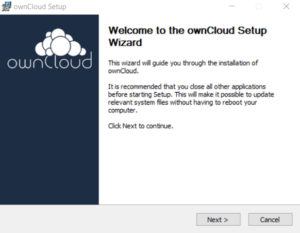
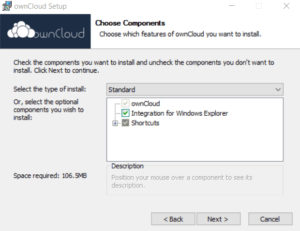
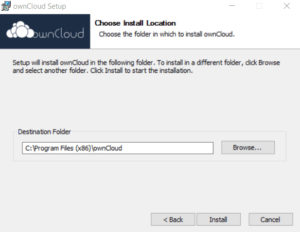
Click to download the client for Windows. Click on the setup.exe file after the downloading is complete, and the ownCloud client installation wizard should come up. Perform the setup by using the default-options.
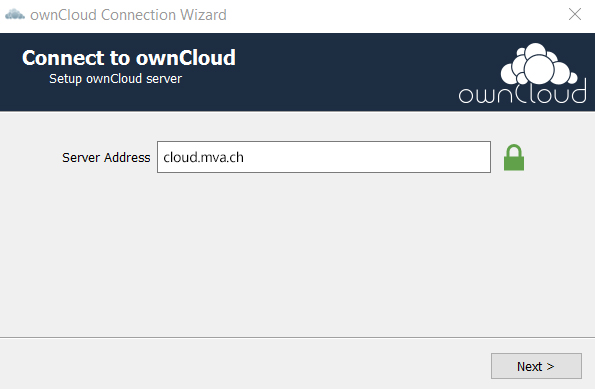
After the application starts, you are able to enter your Serveraddress https://cloud.yourdomain.ch or https://clientname.mvacloud.ch. The correct address (which you recieve as user from MvA) is the same like the Web-URL.
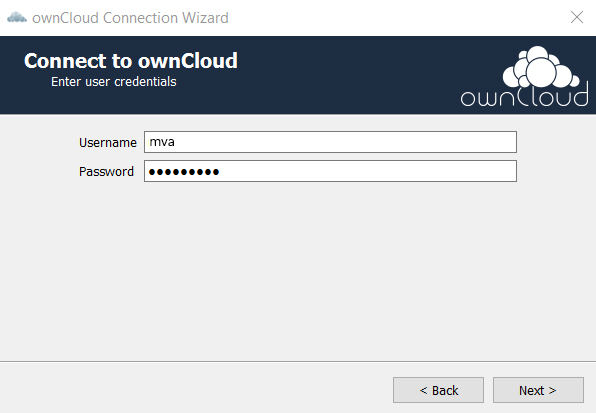
Enter your username and password, which equals your owncloud credentials.
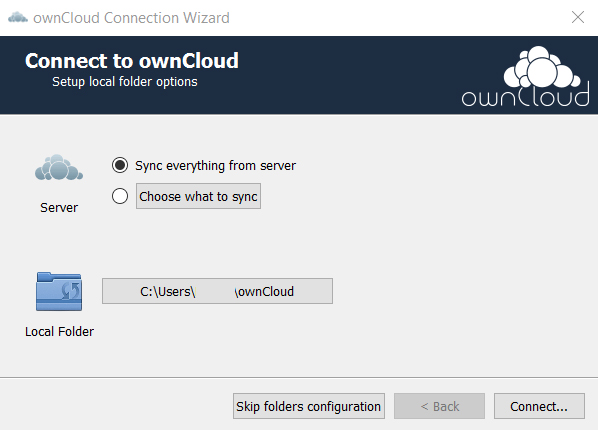
Select Sync everything from the server, if you want to sync all your data in your account
Select Choose what to sync, if you want to select your to-sync-folders. Choose your local folder or let it by using the default path. After this, click on Connect…
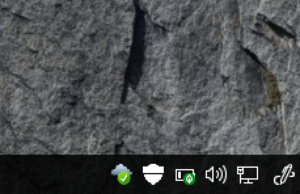
After the setup and first connect-setup, you should see a small clous-icon in your windows thaskbar. When the clous is green ticked, your folders are sync.